How to Get the Most Out of Your Power Sanders for DIY Projects
When it comes to DIY projects, a power sander can be a game-changer. Not only does it save time and effort, but it can also provide a smoother and more professional finish. However, to get the most out of your power sander, there are a few things you should keep in mind. In this article, we'll go over some tips on how to get the most out of your power sanders for DIY projects.
Table of Contents
Choose the Right Type of power sanders for DIY projects
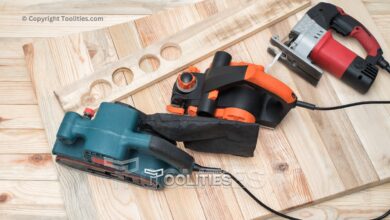
There are several different types of sanders available, each with its own strengths and weaknesses. The most common types of sanders are belt sanders, random orbit sanders, and sheet sanders. Belt sanders are great for removing large amounts of material quickly, while random orbit sanders are versatile and can be used for a variety of tasks.
Sheet sanders, on the other hand, are ideal for sanding large, flat surfaces. Before you begin your project, make sure you choose the right type of power sanders for DIY projects.
power sanders types
If you're planning a DIY woodworking project, you'll need to sand the wood to achieve a smooth finish. There are several types of sanders available, each with its own strengths and weaknesses. Choosing the right sander for your project will depend on the type of wood you're working with, the size of the project, and your personal preferences.
Which Sander Should I Use for My DIY Project?
In this section, we'll take a look at the most common types of power sander for DIY projects and their applications, to help you make an informed decision.
Belt Sanders
Belt sanders are a popular choice and one of the power sanders for DIY projects for heavy-duty sanding tasks, such as removing paint or varnish from large surfaces. They have a powerful motor and use a continuous loop of sandpaper that rotates around two drums to sand the wood. Belt sanders are best used for rough sanding and removing material quickly, but they can be difficult to control and can leave scratches if used incorrectly.
Random Orbital Sanders
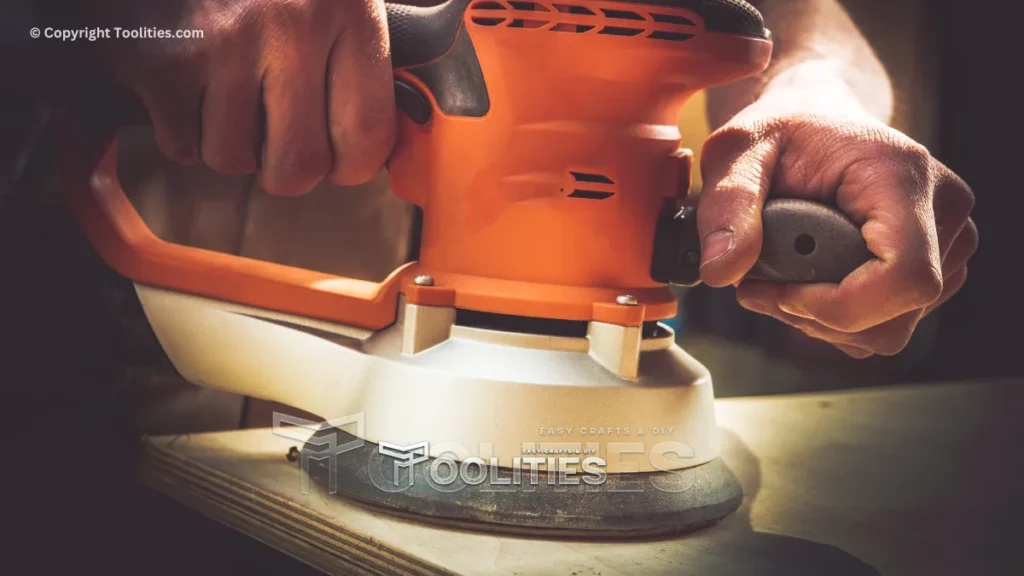
Random orbital sanders are versatile tools that are suitable for a wide range of sanding tasks. They use a circular sanding pad that rotates and vibrates at the same time, to create a random sanding pattern that avoids leaving visible marks on the wood.
They are less aggressive than belt sanders, making them ideal for sanding furniture and cabinets, and for finishing surfaces. Random orbital sanders are also easier to control and produce less dust, making them a popular choice for DIY projects.
Palm Sanders
Palm sanders are small, handheld sanders that are easy to control and perfect for light sanding tasks. They use a square or rectangular sanding pad that vibrates in a circular motion, and are ideal for sanding small, hard-to-reach areas, such as corners and edges. Palm sanders are not as powerful as belt or random orbital sanders, but they are lightweight and easy to maneuver, making them a good choice for DIY projects and beginners.
Detail Sanders
Detail sanders are similar to palm sanders, but they are specifically designed for sanding intricate details and hard-to-reach areas. They use a pointed, triangular sanding pad that can fit into tight corners and spaces. Detail sanders are ideal for sanding woodwork and trim, and for removing paint and varnish from small areas. They are also lightweight and easy to control, making them a good choice for small DIY projects.
How to Get the Most Out of Power Sanders for DIY Projects
Use the Right Sandpaper
Choosing the right sandpaper is just as important as choosing the right type of sander. Sandpaper comes in various grits, ranging from coarse to fine. Coarse grits (around 60 grit) are best for removing a lot of material quickly, while finer grits (up to 400 grit) are better for finishing and smoothing surfaces. It's important to start with a coarser grit and work your way up to a finer grit for the best results.
Keep the Sander Moving
One of the most common mistakes people make when using a power sander is keeping the sander in one place for too long. This can result in uneven sanding and even damage to the surface you're working on. Keep the sander moving at all times, and make sure to overlap your passes slightly to avoid creating visible lines or patterns.
Sand in the Right Direction
The direction you sand in can make a big difference in the final result. When sanding with the grain of the wood, you'll get a smoother finish and avoid creating visible scratches or marks. When sanding against the grain, the finish may be rougher and more visible scratches or marks may be left.
Wear Protective Gear
Sanding can create a lot of dust and debris, so it's important to wear protective gear, such as safety glasses and a dust mask. This will help protect your eyes and lungs from the dust created by the sanding process.
Use the Right Technique
Finally, using the right technique is essential for getting the most out of your power sander. Start by applying light pressure and gradually increase it as needed. Use a back-and-forth or circular motion, depending on the type of sander you're using, and make sure to keep the sander level at all times.
Recap
Choosing the right sander for your next woodworking project will depend on the type of wood you're working with, the size of the project, and your personal preferences. Belt sanders are best for heavy-duty sanding tasks, random orbital sanders are versatile and suitable for a wide range of tasks, palm sanders are perfect for light sanding and easy to maneuver, and detail sanders are ideal for sanding intricate details and hard-to-reach areas.
By understanding the strengths and weaknesses of each type of sander, you can choose the right tool for your project and achieve a smooth, professional finish.
Using a power sander can be a great way to make your DIY projects easier and more professional-looking. By choosing the right type of sander, using the right sandpaper, keeping the sander moving, sanding in the right direction, wearing protective gear, and using the right technique, you can get the most out of your power sanders and achieve great results every time.

